I had been asked by ABBA to send a little study case about the preparation and painting of my Stinking Iris picture for their website. However, as mentioned in my previous post, I sent them the wrong image for the selection process (very strict rules), so the picture did not make it at all! But I do like the finished artwork – much more than I do the bluebells (1703 ABBA Website story), which did go through the selection process but which was not good enough at the end of the day to be included in the final round – and thought I would let all my readers see the post I sent which of course was not then published. I hope you enjoy the picture’s creation journey.
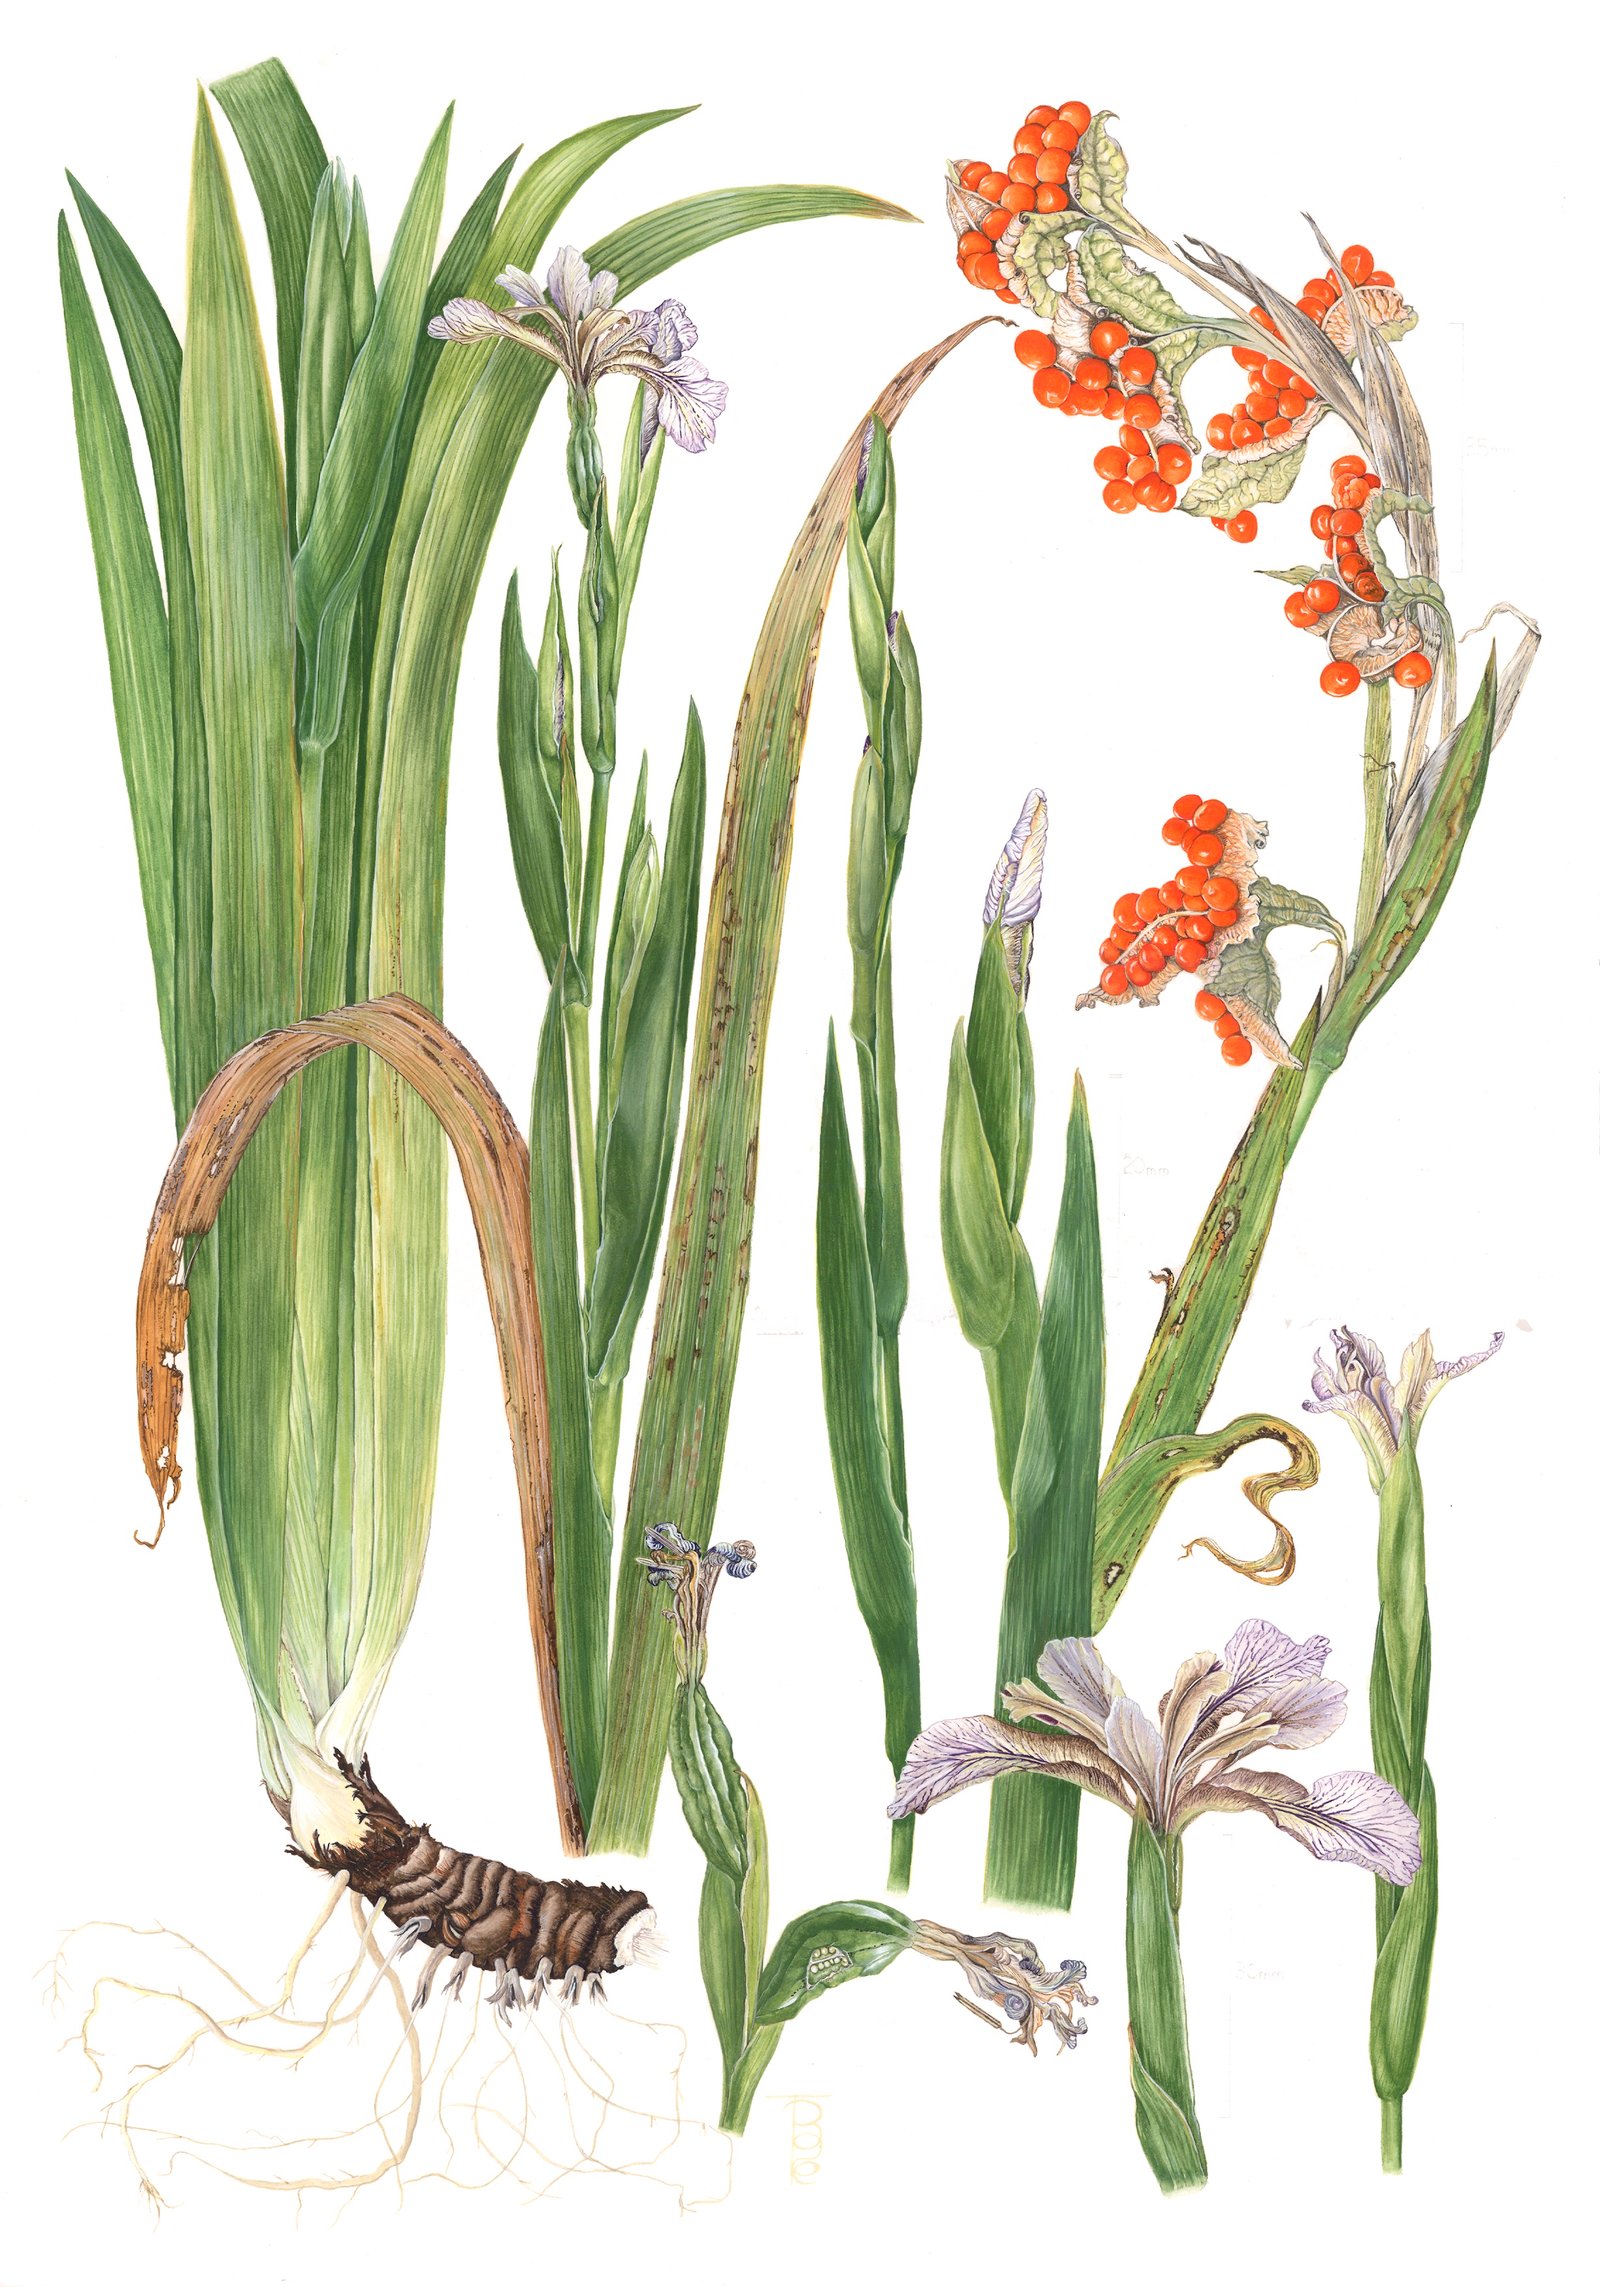
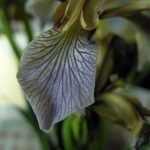
“Stinking Iris” (Iris foetidissima)
Water colour completed 15th October 2017, Artist Code: 1704
Painted on Aquarelle Arches hot pressed 140lb 100% cotton rag paper, size: 14″ x 20″.
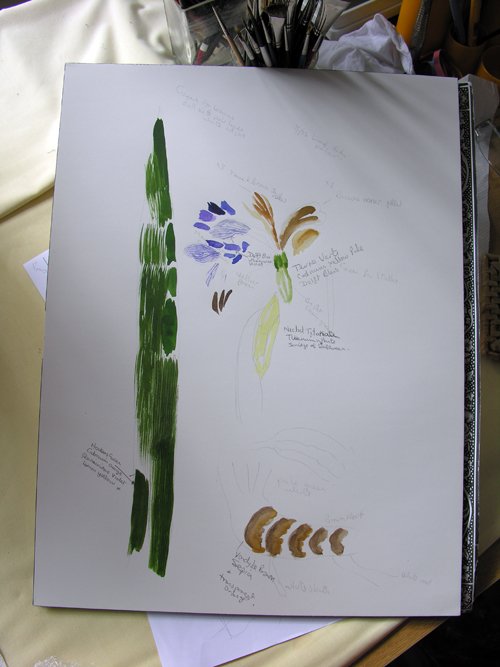
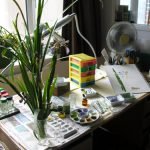
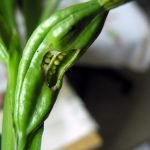
I started this project in June 2017 (during the middle of painting my other submission, the English Bluebell which I took on at the request of ABBA because the original artist could not complete the project) when the Iris flowers suddenly bloomed earlier than expected. There was no need for a field trip to find a specimen as they grow in my little wild back garden. There are only two kinds of native English Iris, and this one likes shady, damp spots. It is a very vigorous plant in the right conditions and thrives in our green and pleasant land. Its name “Stinking Iris” comes from the putrid smell of bad raw meat which is emitted when the leaves are crushed. It also has a few other local names. (The other native Iris, which thrives by waters edge, is the Yellow Iris, Iris pseudacorus.) The first photograph shows my preliminary notes and colour mixes. I mixed a lot of the green which came in very handy when I had to complete the painting in October, four months later.
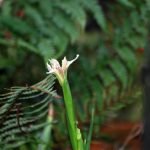
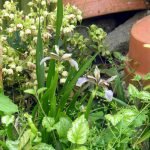
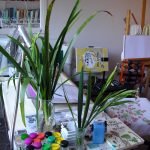
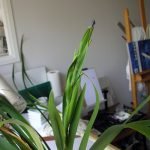
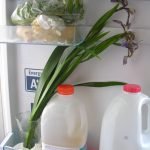
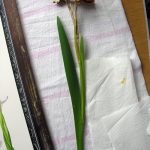
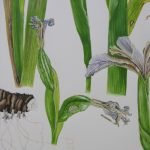
Here are a few photographs of the live material available to me, and which I used to compose the artwork. There are plant close-ups, as well as pictures of my desk and live specimens, and one picture shows the store of flowers in the fridge—which helps to keep them fresh for many days.

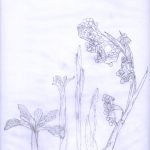
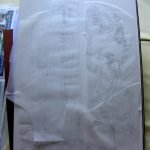
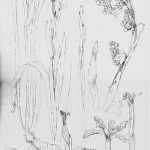
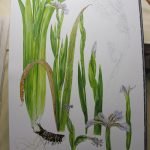
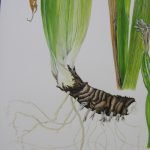
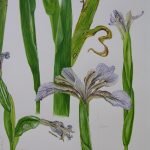
My preliminary drawings took many turns, and after a lot of trials and tribulations I settled upon a suitable study which showed all the things I wished to portray, in what I think is a nice composition. The first photo shows a few elements on tracing paper; the second these and other elements cut up and arranged on my water colour paper; and the third the final [enhanced] traced composition on the paper.
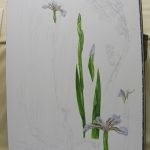
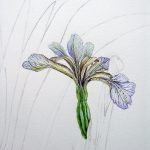
Next I decided to paint first the flowers and buds whilst the specimens were still fresh. In reality, the flowers only last a couple of days before they start to curl up and fragment to decay, whilst beginning to form the seed pods. I put the painting away after working on it for nearly a month because I needed to wait for the seed pods to appear, ripen and split to reveal the beautiful bright orange seeds which line the broken capsule. The plant holds on to these during the winter.


Unfortunately (and this does sometimes happen), the source from where I had hoped to get my mature seed pods did not materialize as the gardener removed all the seed heads before they matured so that my friend’s garden would not become overrun with the plant. I had used up all my flowers to draw and paint the first phase of the picture so had no seed heads in my own little garden. Fortunately, I did a project about the plants in my local Watts Wood a few years ago and recalled that there were some Stinking Iris plants just inside the entrance to the wood. Upon walking to the wood with my bag and scissors I was grateful that the original plants had spread and that there were quite a few seed heads so I cut a couple for my use. I shall sprinkle the seeds in my garden under some trees in the hope of getting more to grow in future.
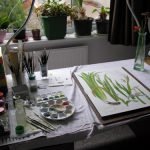
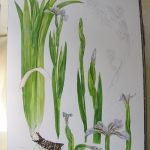
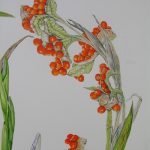
In Early October with seed pods burst and all a-splendour, this is where the green I mentioned above came in very handy. I always mix too much colour for paintings when great coverage is required and I had mixed in June enough of the “body” green for this painting. I stored the surplus colour in a tiny preserve jar in a dark drawer ready for coming out for completion of the picture. As you can see, the green remains in the leaves of the seed-head stems, although it is starting to decay with yellow and brown patches. But as I was completing the picture, and before I started the lovely orange seeds I felt that I should put in another leaf to the left side of the root block of leaves. Even though the tuber and its leaves I had chosen to portray were fairly upright and tight, the leaves of the Iris characteristically fan out gently; so this extra leaf is an indicator of that fanning—albeit very subtle!
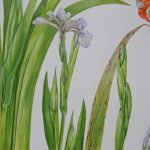
The final photographs show the stage-painting of the seeds as well as a few close-ups of some of the elements. The large flower head bottom right, and the large stalk and bud above it, together with the seed-head stem, have scale bars as these were drawn slightly larger than life to give a clearer view. (You have probably noticed that some of the photographs are a bit “wonky”! This is because the camera lens distorts the straight edges. I am not able to stop this with my limited knowledge of taking pictures. (You can read the The English Bluebell entry blog on the ABBA website here. The Bluebell picture was also included in the header pictures on the ABBA website until my painting was not selected—this is what it looked like VIEW.
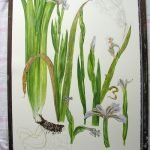

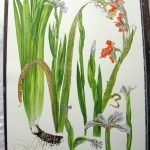
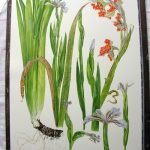
And this is the finished painting: